
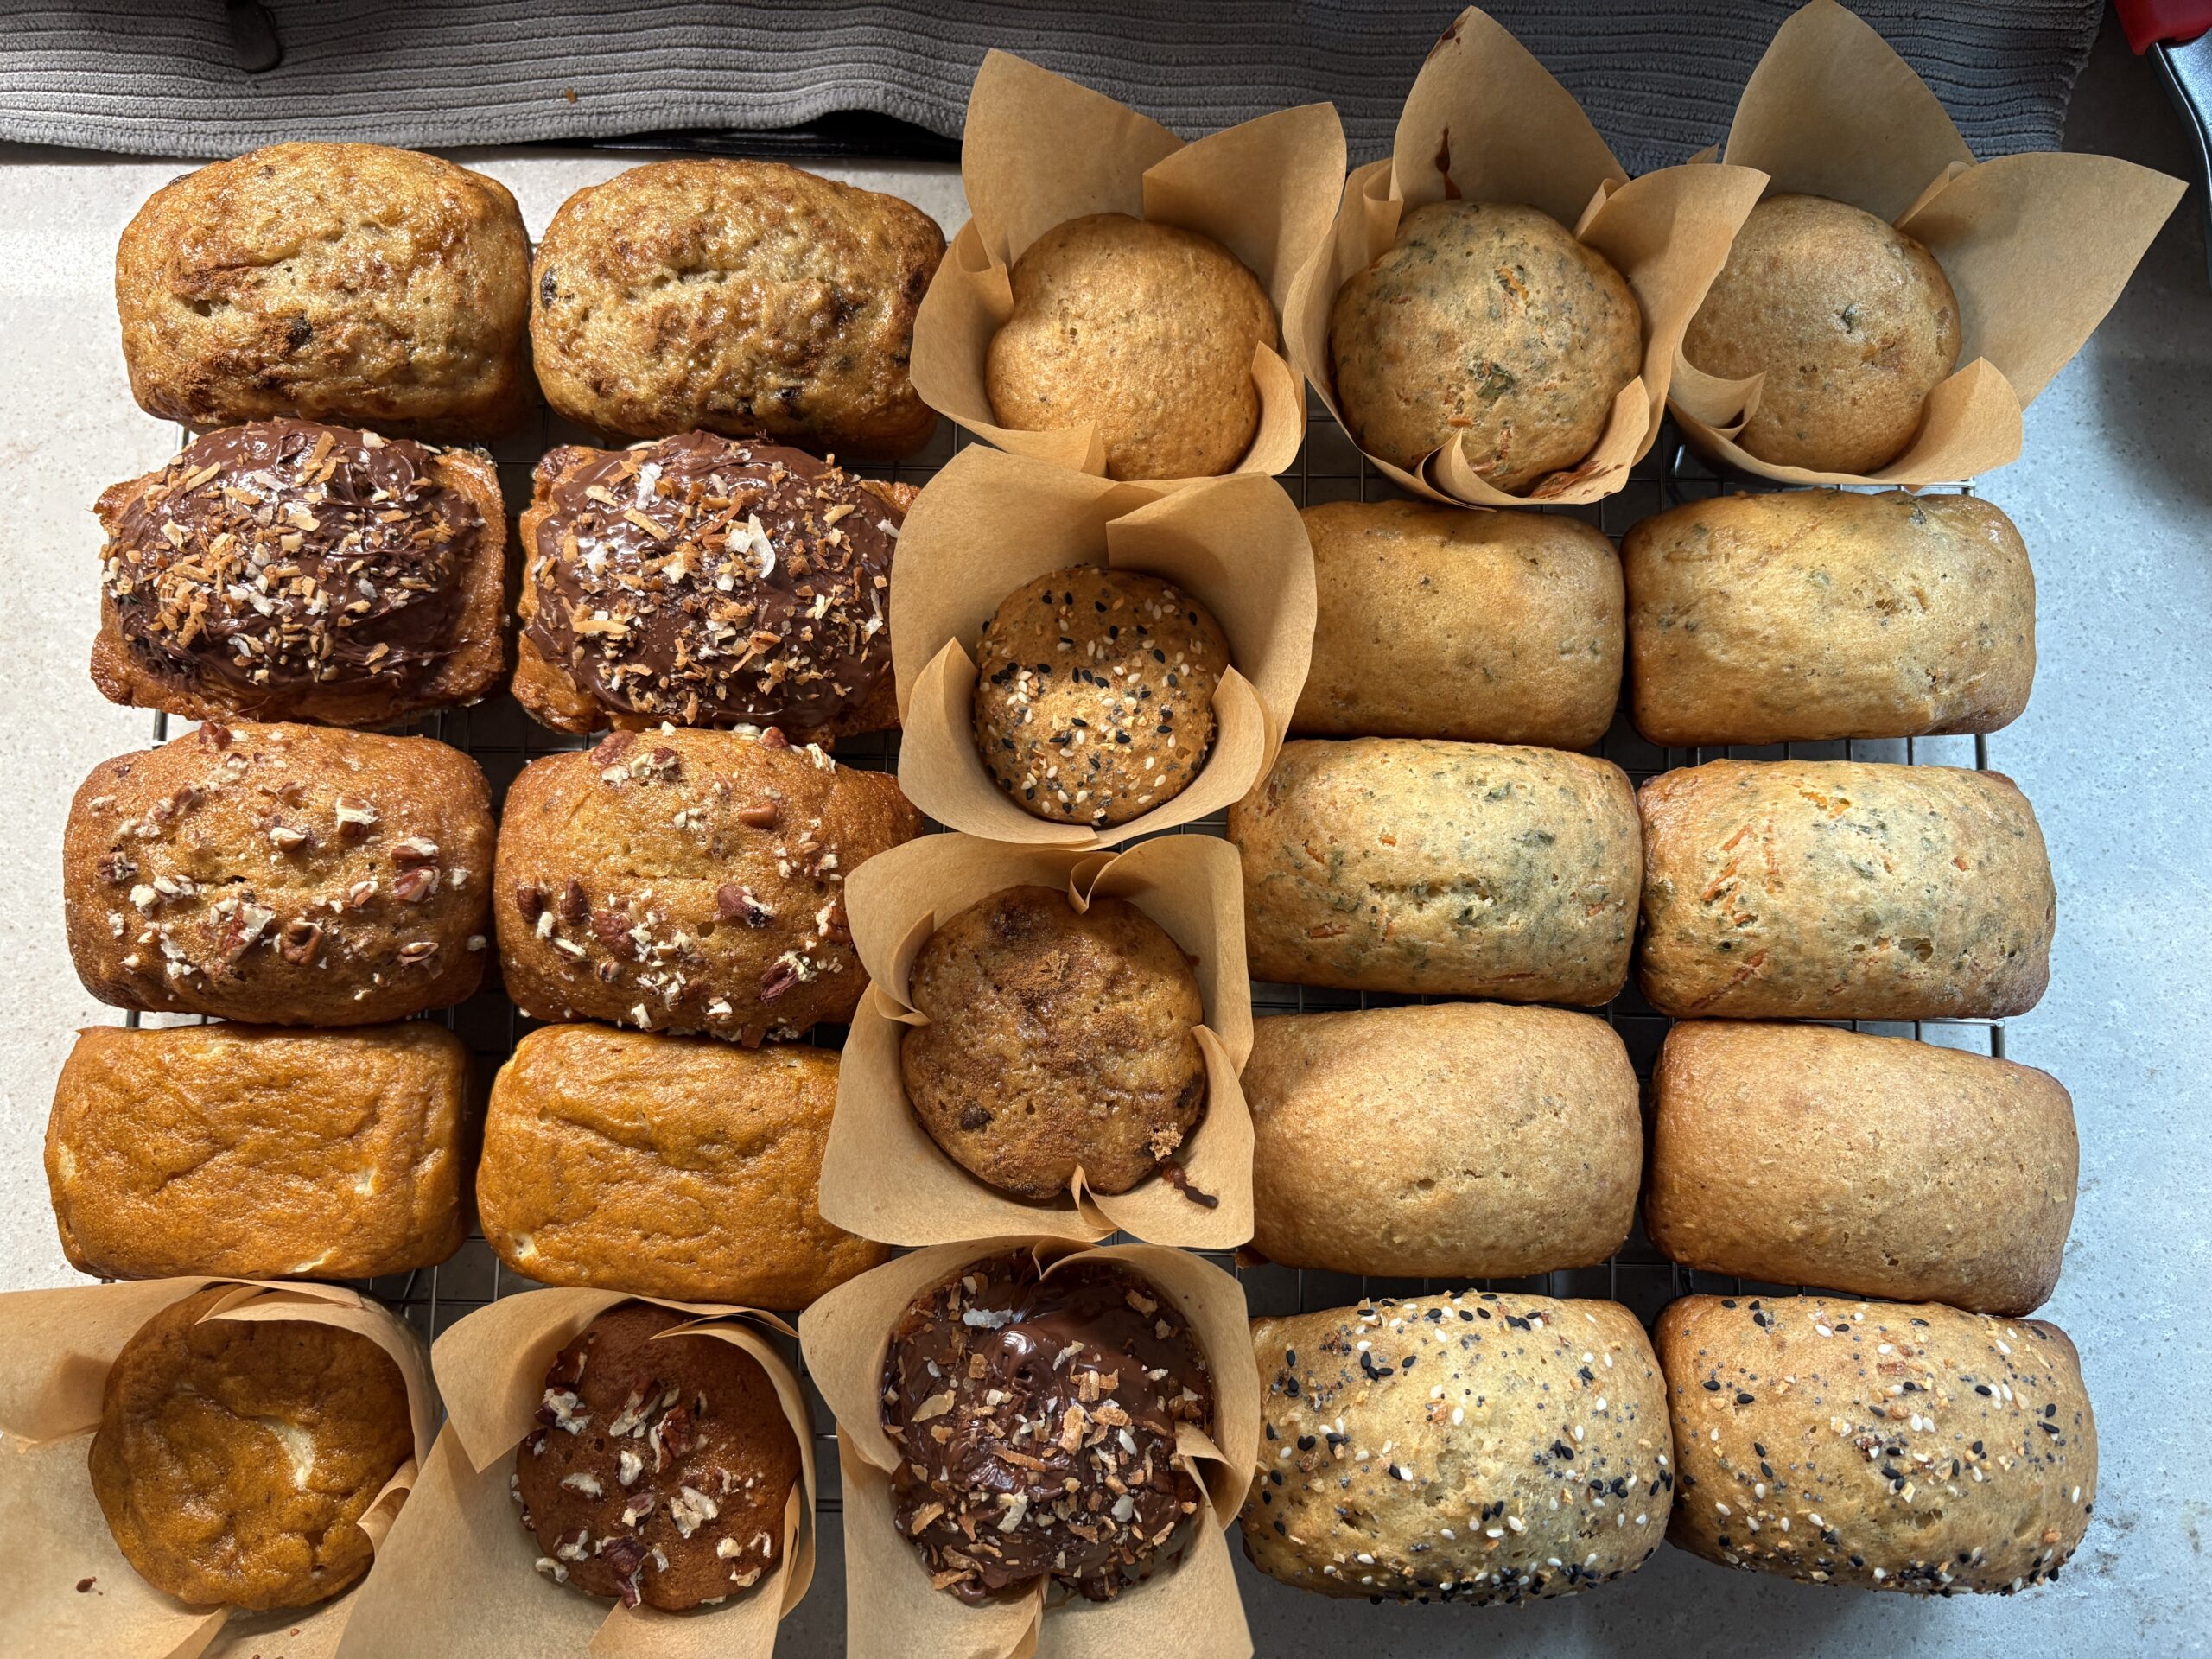
I first met Amish Friendship Bread in the early 90’s, long before I knew anything about yeast or fermentation. My mom had a zip lock bag sitting on the counter — pale batter with little bubbles and sharpie instructions written directly on the bag. A friend had given it to her, she baked her loaves, then passed bags to other people. Before long it felt like everyone and their mother had one going. It was a whole movement.
Today sourdough starter is the star of the show (I have a container of this on my countertop too), but Amish Friendship Bread feels like its cousin — a little sweeter, a little more nostalgic, and a lot more forgiving. It’s a living culture, and once you know how it behaves, you’re in control.
Understanding Your Starter (Without Overcomplicating It)
An Amish Friendship Bread starter is a balance of yeast and bacteria. You feed it, it ferments, and the fermentation is what creates lift, aroma, tenderness, and that mild sweet-tang. The ingredients you choose and the environment you keep it in directly affect how active it is and how it tastes. When you’re first getting started, keep things simple — once your culture is strong, you can experiment.
Ingredients
Flour: All-purpose flour is the most consistent choice. It has enough protein to feed the yeast without making the starter thick and heavy. Bread flour works, but it tends to make the starter stiffer — if you use it, add a splash of milk to keep the batter pourable. Avoid self-rising flour entirely. The baking powder and salt interfere with yeast activity. You can add a small amount of whole wheat or rye once you’re comfortable with your culture, but they ferment faster and can speed things up.
Milk: Whole milk or 2% works best. The natural lactose feeds the bacteria and yeast, and gives Friendship Bread its mellow, slightly sweet flavor. Lactose-free dairy milk also works fine. Plant-based milks ferment more slowly because they lack lactose. You can use them occasionally, but return to dairy every few feeds to keep the culture balanced. If you need a long-term dairy-free setup, keep a small dairy-fed “mother,” then branch off plant-based portions when it’s time to bake.
Sugar: Sugar is not optional here. It’s the direct food source for the yeast. Without it, the culture becomes sluggish and flat. Granulated sugar — cane or beet — works exactly as it should, feeds cleanly, and maintains predictable fermentation.
Honey and maple syrup sound wholesome, but both have antibacterial compounds that can interfere with yeast and bacteria. Brown sugar contains more molasses and can slow fermentation and darken the culture. Save those sweeteners for the bread itself, not the starter feedings.
Yeast: Only on Day 1. That first packet of yeast is like planting seeds in a garden — you need it to get the ecosystem going. After Day 1, you never add yeast again.
Active dry yeast should be dissolved in warm water so you know it’s awake. Instant yeast can skip that step, though blooming it is still a simple way to confirm it’s alive. Once your starter is active and fed, natural yeasts take over and the culture maintains itself for years if cared for properly.
Tools
You don’t need specialty equipment, just the right type of container and cover.
Use a 1.5–2 quart glass or food-safe plastic container so the starter has room to rise. Glass is ideal because it’s non-reactive and lets you see what’s happening inside. Stainless steel is fine for mixing briefly, but don’t store your starter in metal. Avoid reactive metals like aluminum or copper — they can interact with the acidity.
Cover the container loosely. A coffee filter with a rubber band, a paper towel, a clean dishcloth, or a lid set slightly ajar all work. The starter needs airflow; sealing it tight can trap gas and stress the culture.
Environment
Keep things clean but not sterile. Wash the container with mild soap, rinse well, and dry fully before refilling. Soap residue can slow yeast activity. Every few feedings, transfer the starter to a clean container to reset its environment.
Temperature makes the biggest difference.
- 68–75°F (20–24°C) is ideal — steady fermentation and balanced flavor.
- Cooler kitchens slow everything down and make the starter thicker.
- Warmer kitchens speed everything up, create more hooch, and can make the culture tangier.
Avoid sunny windowsills and drafty spots. Starters like stability — day after day, same general conditions.
What Healthy Looks, Smells, and Feels Like
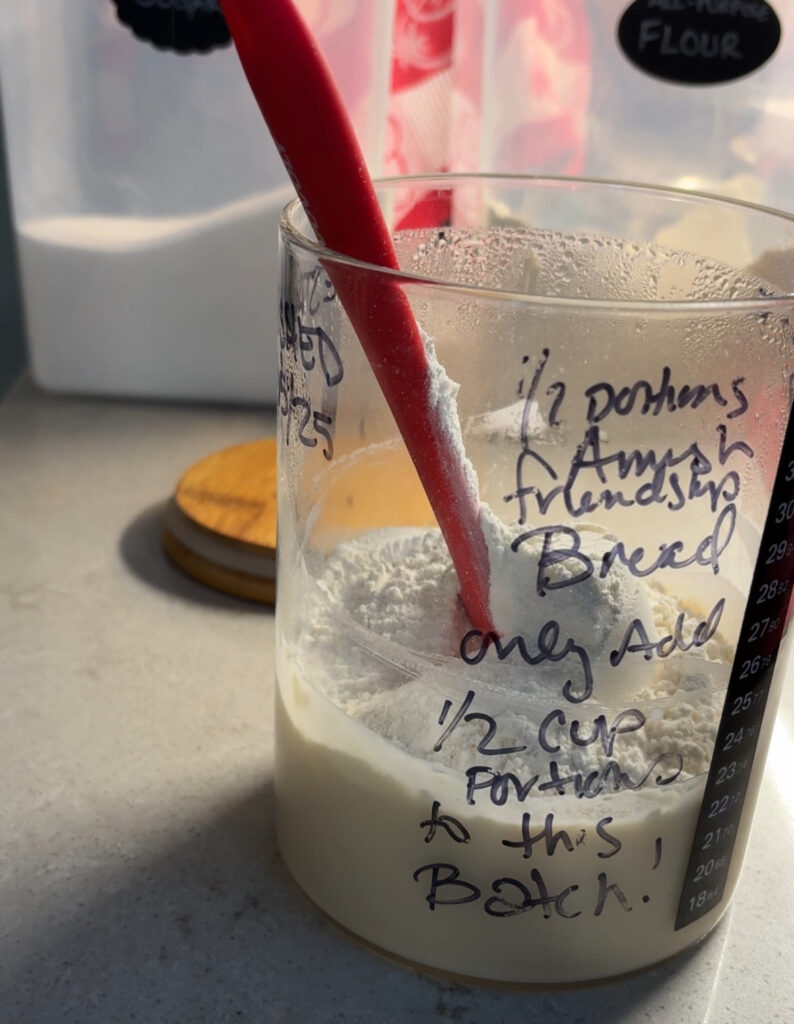
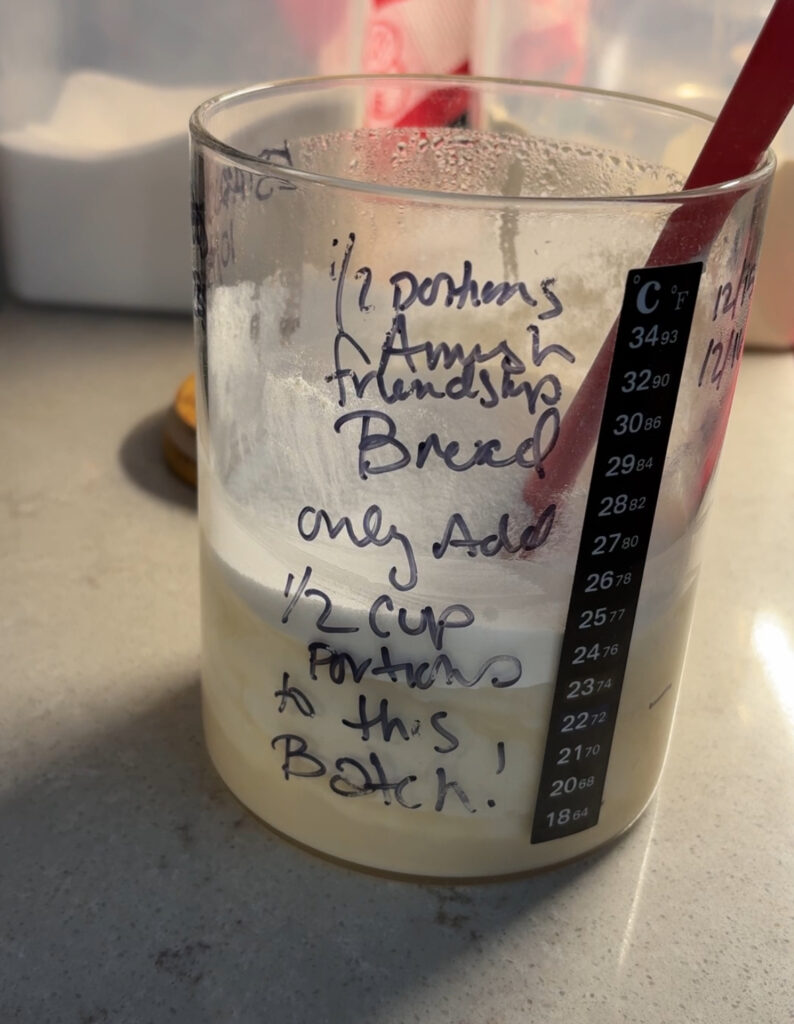
A healthy Friendship Bread starter is thick but pourable, similar to pancake batter. Small bubbles are visible throughout, and after a feeding it should show more activity within a few hours. A little hooch (tan or gray liquid) on top is just a sign it’s hungry — stir it in and feed.
The smell should be sweet and bready with a mild tang, not sharp or sour. After feeding, it smells fresh and floury. Mid-cycle, it smells pleasantly yeasty, like bread dough. If it ever smells rotten, vinegary, or like ammonia, that’s a sign of overfermentation or contamination.
When stirred, it should feel smooth and slightly elastic. Runny usually means warm or overhungry. Thick and stiff usually means cold or underfed. Pink, orange, or fuzzy growth means mold — discard and start fresh.
Once you’ve watched a starter through a few feeding cycles, you learn its rhythm. That’s when it gets fun — you start noticing the bubbles, the smells, and the little changes that tell you exactly when it’s ready to bake.
The Short Version (Because Most of Us Learn by Doing)
- Keep it at room temp while establishing.
- Feed on schedule.
- Use the right ingredients and tools.
- Watch for bubble activity, smell, and consistency.
- Adjust for temperature if needed.
That’s really it.
Once you understand those basics, you can stop worrying about doing it “right” and just bake. And honestly, that’s the same spirit those zip-top bags had in the 90s — simple, shareable, and quietly alive on the kitchen counter.
The Starter
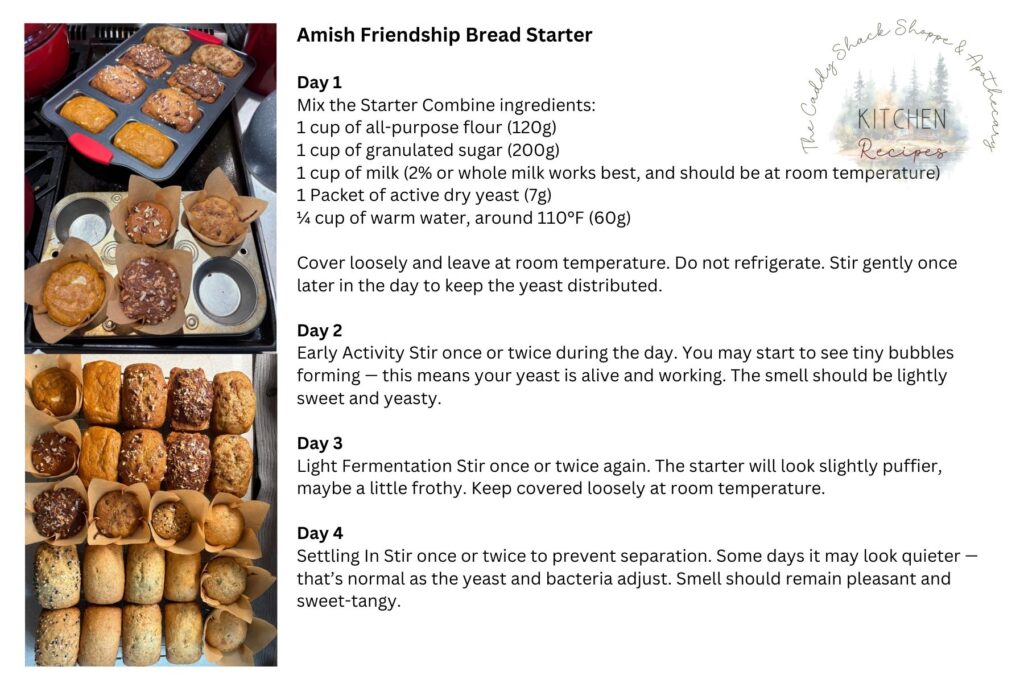
Day 1
Mix the Starter Combine ingredients:
1 cup of all-purpose flour (120g)
1 cup of granulated sugar (200g)
1 cup of milk (2% or whole milk works best, and should be at room temperature)
1 Packet of active dry yeast (7g)
¼ cup of warm water, around 110°F (60g)
Cover loosely and leave at room temperature. Do not refrigerate. Stir gently once later in the day to keep the yeast distributed.
Day 2
Early Activity Stir once or twice during the day. You may start to see tiny bubbles forming — this means your yeast is alive and working. The smell should be lightly sweet and yeasty.
Day 3
Light Fermentation Stir once or twice again. The starter will look slightly puffier, maybe a little frothy. Keep covered loosely at room temperature.
Day 4
Settling In Stir once or twice to prevent separation. Some days it may look quieter — that’s normal as the yeast and bacteria adjust. Smell should remain pleasant and sweet-tangy.
Day 5
First Feeding Add:
1 cup flour
1 cup sugar
1 cup milk (room temperature)
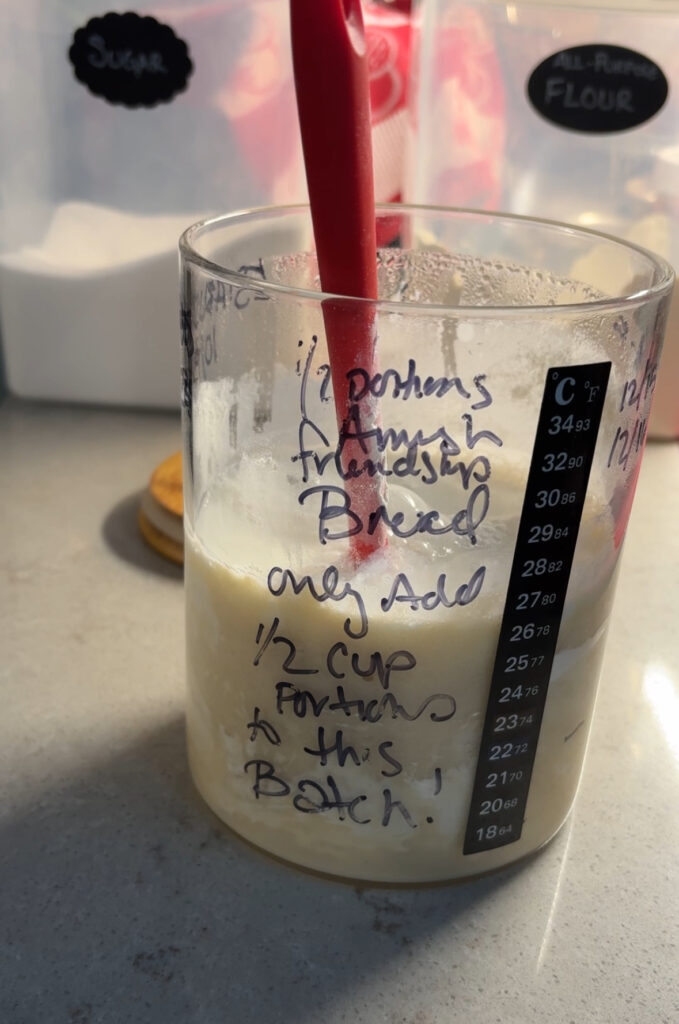
Stir well until smooth. Within a few hours, you should see renewed bubbling and a creamy texture.
Day 6
Steady Growth Stir once or twice during the day. The starter will look more active and may rise slightly in volume. If a small liquid layer (“hooch”) forms, stir it back in.
Day 7
Building Strength Stir once or twice. The aroma will become richer — mildly tangy, sweet, and yeasty.
Day 8
Maturing Starter Stir gently. Bubbles should be steady and uniform and texture will be thick but pourable.
Day 9
Almost Ready Stir once or twice. This is your final “rest” day before baking and dividing. The starter should be visibly active with a sweet-yeasty scent and foamy surface.
Day 10
Final Feeding + Divide Add:
1 cup flour
1 cup sugar
1 cup milk (room temperature)
Stir well and let rest at room temperature for several hours. When bubbly and airy: Use one portion to bake. Keep one portion to feed for your next cycle.
Feed every 5–10 days with equal parts flour, sugar, and milk. Keep it at room temp if you bake often, or store in the fridge for longer breaks. Always stir before and after feeding.
Share or freeze the rest in labeled, dated containers (1 cup portions recommended).
Download Printable Recipe Card
That’s all there is to it. It isn’t complicated, and once you’ve seen a starter through its first cycle, it becomes second nature. In the next post we’ll get into the fun part — actually baking a loaf. If you grew up with Amish Friendship Bread, I’d love to hear your memories. Did someone hand you a bag? Did it sit on your counter in the 90’s like it did in mine? Drop a comment if you remember it.
Put on an apron and join in!
Till next time ~
— Angie
Leave a Reply